Introduction:
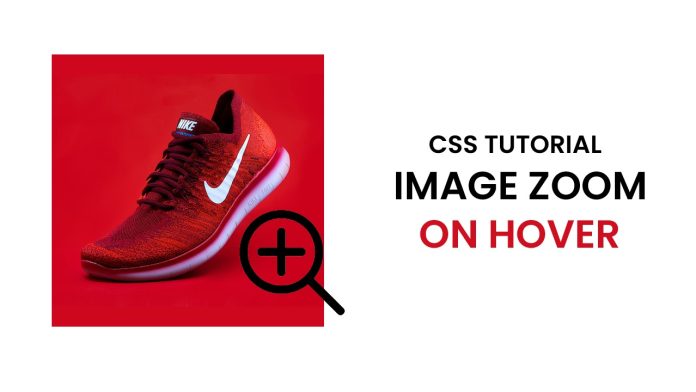
In this tutorial, we will explore how to create an image zoom effect on hover using HTML and CSS. This effect will allow users to hover over an image and zoom in for a closer look. By the end of this tutorial, you will have a clear understanding of how to implement this effect in your own web projects without using any external libraries.
Things You Will Learn:
- Applying background images in CSS
- Utilizing CSS selectors to target specific elements
- Implementing hover effects with CSS
- Adjusting image size and position using CSS properties
- Creating an interactive zoom-in cursor effect
Video Tutorial:
To follow along with this tutorial, you can watch the video tutorial on my YouTube channel. The video will provide a step-by-step guide on how to create the interactive image zoom effect, including a visual demonstration of each step.
Project Folder Structure:
Before we dive into the HTML and CSS code, let’s set up our project folder structure. Create a new folder for your project and organize it as follows:
- index.html
- style.css
- product.png (or any image you want to use)
Now, let’s move on to the code implementation.
HTML:
Open your index.html file and add the following code:
<!DOCTYPE html>
<html lang="en">
  <head>
    <meta name="viewport" content="width=device-width, initial-scale=1.0" />
    <title>Image Zoom On Hover</title>
    <!-- Stylesheet -->
    <link rel="stylesheet" href="style.css" />
  </head>
  <body>
    <div class="image"></div>
  </body>
</html>
CSS:
Next, open your style.css file and add the following CSS code:
.image {
  height: 500px;
  width: 500px;
  background: url(product.png);
  cursor: zoom-in;
  background-position: center;
}
.image:hover {
  background-size: 120%;
}
Conclusion:
Congratulations! You have successfully created an interactive image zoom effect using HTML and CSS. This effect adds a touch of interactivity to your web page and allows users to explore images in more detail. Feel free to experiment with different image sizes, backgrounds, and other CSS properties to customize the effect further. Don’t forget to check out the video tutorial on my YouTube channel for a more comprehensive guide.


