Video Tutorial:
If you would like to learn by coding along to a video tutorial rather than reading this post, check out the video here down below. It is the video version of this same tutorial.
Project Folder Structure:
Before we start coding let us create the project folder structure. The project folder is called – ‘Get Mouse Position’. Inside this folder, we have three files – index.html, style.css and script.js. These files are the HTML document, the stylesheet and the script file.
HTML:
Let us begin with the HTML code. First copy the code provided to you below and paste it into your HTML document. The HTML code consists of just a single div with an id ‘output’. This is all the layout we need for our project.
<!DOCTYPE html>
<html lang="en">
  <head>
    <meta name="viewport" content="width=device-width, initial-scale=1.0" />
    <title>Get Mouse Position</title>
    <!-- Google Font -->
    <link
      href="https://fonts.googleapis.com/css2?family=Poppins:wght@500&display=swap"
      rel="stylesheet"
    />
    <!-- Stylesheet -->
    <link rel="stylesheet" href="style.css" />
  </head>
  <body>
    <div id="output">Move the mouse to get the coordinates</div>
    <!-- Script -->
    <script src="script.js"></script>
  </body>
</html>
CSS:
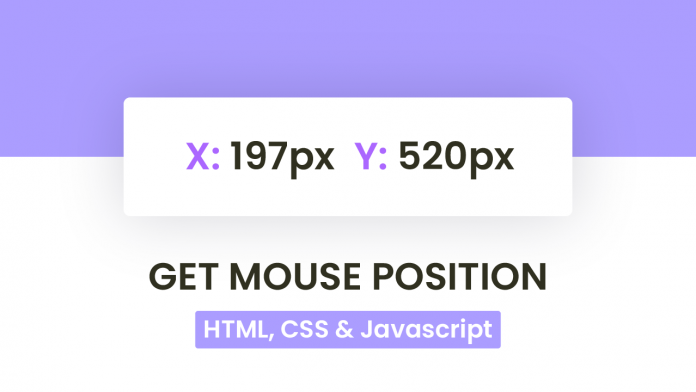
Next, we move on to styling our div to make it look more presentable. For this we use CSS. We start by removing paddings and margins from all the elements. In the next step, we set the background of the body to a linear -gradient with solid stops.
For the output div, we set the background colour to white and centre it. We set some box-shadow to make it pop out from the background. Finally, we set the ‘font-size’ to ‘2.2em’.
* {
  padding: 0;
  margin: 0;
  box-sizing: border-box;
  font-family: "Poppins", sans-serif;
}
body {
  height: 100vh;
  background: linear-gradient(#ab9dff 50%, #ffffff 50%);
}
#output {
  background-color: #ffffff;
  width: 80vmin;
  max-width: 500px;
  padding: 50px 30px;
  position: absolute;
  transform: translate(-50%, -50%);
  top: 50%;
  left: 50%;
  text-align: center;
  border-radius: 8px;
  box-shadow: 0 20px 50px rgba(4, 1, 22, 0.12);
  font-size: 2.2em;
}
#output div {
  margin: 16px 0;
}
span {
  color: #7861f8;
}
Javascript:
Now we use javascript to add functionality to this code. We get the element with id – ‘output’ and store it in a variable with the same name. In the next step, we add a ‘mouse move’ event listener.
On mouse move, we get the X and Y position of the mouse using clientX and clientY respectively. We store these values in the xPos and yPos variables. Finally, we display these values using the innerHTML property on the output div.
let output = document.getElementById("output");
window.addEventListener("mousemove", (e) => {
  let xPos = e.clientX;
  let yPos = e.clientY;
  output.innerHTML = `<div><span>X: </span>${xPos}px</div><div><span>Y: </span>${yPos}px</div>`;
});
That’s it for these tutorials. We now have the x and y coordinates of the mouse. If you have any issues while creating this code you can download the source code by clicking on the download code button below. Also if you have any queries, suggestions or feedback comment on them below.
Happy Coding!


