Video Tutorial:
If you are interested to learn by watching a video tutorial rather than reading this blog post you can check out this video down below. Also, subscribe to my youtube channel, where I post new tutorials every alternate day.
Project Folder Structure:
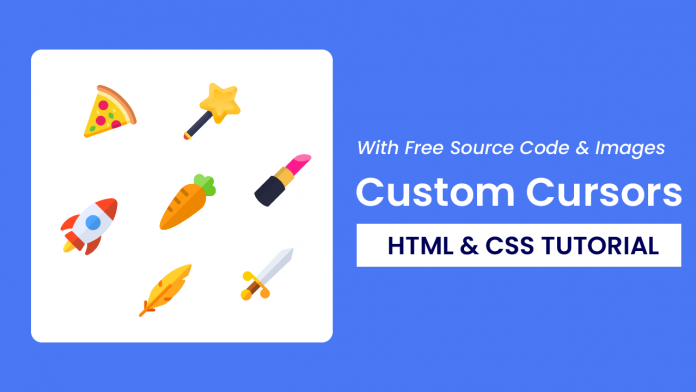
Before we start coding, let us look at the project folder structure. We create a project folder called – ‘Custom Cursors’. Inside this folder, we have an index.html file, a style.css file and six images. You can download these images with the source code at the end of this post.
HTML:
We begin with HTML. First, copy the code below and paste it into your HTML document.
<!DOCTYPE html>
<html lang="en">
  <head>
    <meta name="viewport" content="width=device-width, initial-scale=1.0" />
    <title>Custom Cursors</title>
    <!-- Google Fonts -->
    <link
      href="https://fonts.googleapis.com/css2?family=Poppins:wght@500&display=swap"
      rel="stylesheet"
    />
    <!-- Stylesheet -->
    <link rel="stylesheet" href="style.css" />
  </head>
  <body>
    <div class="container">
      <button class="pizza">pizza</button>
      <button class="wand">wand</button>
      <button class="lipstick">lipstick</button>
      <button class="feather">feather</button>
      <button class="sword">sword</button>
      <button class="rocket">rocket</button>
    </div>
  </body>
</html>
CSS:
Next, we use CSS to apply the custom cursors. For this copy, the code provided to you below and paste it into your stylesheet. The right syntax to use urls with cursor is: ‘cursor: url(“file-name”),fallback-keyword;’.
When using images as cursor PNG and SVG image formats work the best. Also I would recommend you to use an image resolution of 32x32px.
* {
  padding: 0;
  margin: 0;
  box-sizing: border-box;
}
body {
  background-color: #4a77f4;
}
.container {
  background-color: #ffffff;
  width: 90%;
  max-width: 60em;
  padding: 5em 2em;
  position: absolute;
  transform: translate(-50%, -50%);
  top: 50%;
  left: 50%;
  border-radius: 0.5em;
  display: grid;
  grid-template-columns: repeat(3, 1fr);
  gap: 2.5em 2em;
}
.container button {
  font-family: "Poppins", sans-serif;
  font-size: 1.2em;
  background-color: #4a77f4;
  border: none;
  outline: none;
  color: #ffffff;
  padding: 0.8em;
  text-transform: capitalize;
  border-radius: 0.3em;
}
.pizza {
  cursor: url("pizza.png"), auto;
}
.wand {
  cursor: url("wand.png"), auto;
}
.lipstick {
  cursor: url("lipstick.png"), auto;
}
.feather {
  cursor: url("feather.png"), auto;
}
.sword {
  cursor: url("sword.png"), auto;
}
.rocket {
  cursor: url("rocket.png"), auto;
}
That’s it for this tutorial. Now you can go ahead and use images of your choice. If you face any issues while creating this code you can download the source code by clicking on the ‘Download Code’ button below. Also, if you have any queries, suggestions or feedback you can comment below.
Happy Coding!


