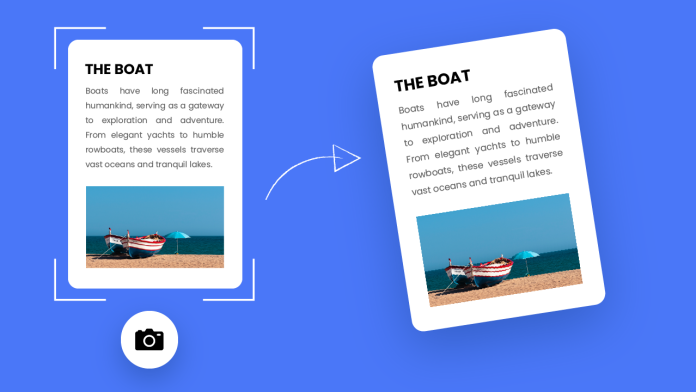
In this blog post, we will explore how to create a screenshot capture application using JavaScript. This application allows users to capture a screenshot of a specific HTML element and save it as an image file. We will walk through the HTML, CSS, and JavaScript code that powers this application, and discuss the things you will learn by building it. Additionally, we will provide a video tutorial to guide you through the process, and explain the project folder structure. Let’s dive in!
Things You Will Learn:
By building this screenshot capture app, you will learn the following:
- How to use the
html2canvaslibrary to capture screenshots of HTML elements. - Handling events and triggering actions based on user interactions.
- Dynamically updating and modifying HTML elements using JavaScript.
- Manipulating image data using the HTML5 Canvas API.
- Creating download links for generated images.
Video Tutorial:
To guide you through the process of building the screenshot capture app, we have created a video tutorial on our YouTube channel. You can watch the tutorial here. The tutorial provides step-by-step instructions, explanations, and demonstrations of the code implementation.
Project Folder Structure:
Before we dive into the code, let’s take a look at the project folder structure. Here’s an overview of the files and directories:
index.html: This file contains the HTML structure of our screenshot capture app.style.css: It holds the CSS styling for the app’s layout and appearance.script.js: This JavaScript file contains the logic to capture the screenshot and handle user interactions.demo-img.jpg: A sample image used in the demo.
HTML:
In the HTML file, we define the structure of our app using various elements and classes. We have a wrapper div that contains two main sections: the container where the content and image are displayed, and the preview container where the captured screenshot is shown. Additionally, there are buttons for capturing the screenshot and downloading the image.
CSS:
The CSS file defines the styling for our app. We set a background color, font family, and spacing properties. We also apply styling to the container and preview container elements, as well as the buttons and links.
JavaScript:
The JavaScript code handles the main functionality of the screenshot capture app. It utilizes the html2canvas library to capture the screenshot of the container element when the capture button is clicked. The captured image is then displayed in the preview container, and the download button is updated with the necessary attributes to download the image.
Conclusion:
In this blog post, we explored the process of creating a screenshot capture app using JavaScript. We discussed the things you will learn by building this app, provided a video tutorial to guide you through the implementation, and explained the project folder structure. By following the tutorial and examining the code, you will gain valuable knowledge about capturing screenshots programmatically and manipulating image data in web applications. Feel free to customize and enhance the app according to your specific needs. Happy coding!


Screenshot Capture App Using JavaScript source code not available in download folder
Thank you for the update. I will provide the original code quickly.