Introduction:
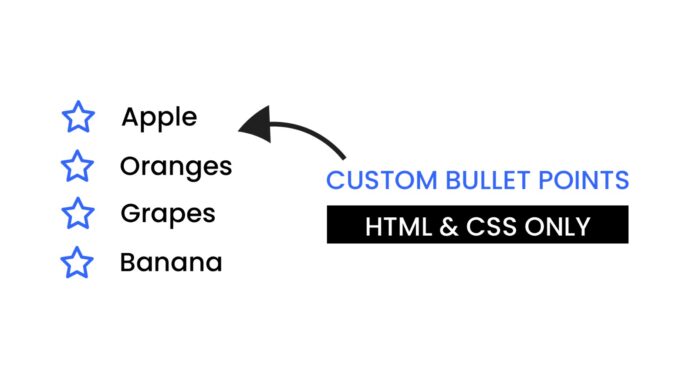
Creating clean, visually appealing lists can make your website look more polished and professional. In this tutorial, I’ll walk you through how to create custom bullet points for a list using a bit of HTML and CSS. We’ll dive into some CSS properties like transform and position, and we’ll even add some flair using Font Awesome icons.
Things You Will Learn:
In this tutorial, you will:
- How to create a basic HTML structure for a list
- How to center your list on the page
- How to style list items with CSS
- How to add icons using Font Awesome
Video Tutorial:
Do not forget to subscribe to my YouTube channel where I will be sharing my knowledge and expertise to help you master the basics of web development. From writing your first line of HTML to creating beautiful and responsive web pages with CSS and JavaScript, I have got you covered. So, if you’re ready to take your web development skills to the next level, hit the subscribe button and join me on this exciting journey.
Project Folder Structure:
Let us explore the project folder structure. The project folder consists of 2 files. The HTML file creates the elements required to build the structure and layout of our project. Next, the CSS file styles the elements that we have created with CSS. The files used are:
- index.html
- style.css
HTML:
We begin with the HTML code. Copy the code below and paste it into your HTML document.
<!DOCTYPE html>
<html lang="en">
<head>
<meta name="viewport" content="width=device-width, initial-scale=1.0" />
<title>Custom Bullet Point</title>
<!--Font Awesome CDN-->
<link
rel="stylesheet"
href="https://cdnjs.cloudflare.com/ajax/libs/font-awesome/6.6.0/css/all.min.css"
/>
<!--Stylesheet-->
<link rel="stylesheet" href="style.css" />
</head>
<body>
<ul>
<li>Apple</li>
<li>Oranges</li>
<li>Grapes</li>
<li>Banana</li>
</ul>
</body>
</html>
CSS:
Next, you’ll apply the styles by inserting this CSS code into your stylesheet.
ul {
position: absolute;
transform: translate(-50%, -50%);
top: 50%;
left: 50%;
}
li {
font-size: 40px;
list-style: none;
letter-spacing: 2.5px;
}
li:not(:last-child) {
margin-bottom: 15px;
}
li:before {
content: "\f005";
font-family: "Font Awesome 5 Free";
color: #3365ff;
margin-right: 20px;
}
Conclusion:
With a few lines of HTML and CSS, we’ve created a beautifully centered list with custom bullet points. This method provides a quick, efficient way to add style to your lists and make your site look more engaging. For more tutorials, subscribe to my YouTube channel where I post regular coding tips and projects!


