Introduction:
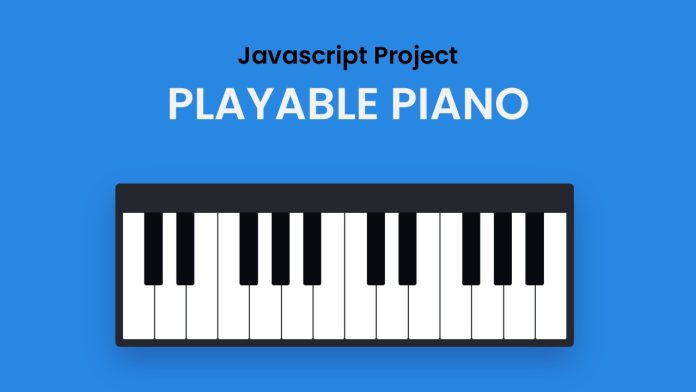
In this blog post, we will learn how to create a Playable Piano using HTML, CSS, and JavaScript. This interactive project allows users to play piano notes with a simple click, making it a fun and engaging experience for music enthusiasts and learners alike. By the end of this tutorial, you will have a fully functional virtual piano that can be easily customized and integrated into your own projects.
Things You Will Learn:
- Creating a simple HTML structure to lay the foundation for the virtual piano.
- Styling the piano keys using CSS to distinguish between black and white keys.
- Implementing JavaScript functionality to play audio when a key is clicked.
- Organizing project files for easy management and maintenance.
Video Tutorial:
Before we dive into the tutorial, be sure to check out the video version of this tutorial on my YouTube channel. It provides a step-by-step visual guide to building the virtual piano, making it even easier to follow along.
Project Folder Structure:
Let’s set up the project folder structure before we start:
- index.html
- style.css
- script.js
- audio/key files
HTML:
Begin by creating the index.html file and set up the basic structure:
<!DOCTYPE html>
<html lang="en">
  <head>
    <meta name="viewport" content="width=device-width, initial-scale=1.0" />
    <title>Playable Piano</title>
    <link rel="stylesheet" href="style.css" />
  </head>
  <body>
    <div class="piano-container"></div>
    <script src="script.js"></script>
  </body>
</html>
CSS:
Next, let’s add some basic CSS to style the piano keys:
body {
  padding: 0;
  margin: 0;
  background-color: #2887e3;
}
.piano-container {
  display: flex;
  position: absolute;
  transform: translate(-50%, -50%);
  left: 50%;
  top: 50%;
  padding: 4em 1em 1em 1em;
  border-radius: 0.62em;
  background-color: #24272e;
  box-shadow: 0 2em 4em rgba(7, 0, 53, 0.25);
}
.white-key {
  width: 4.37em;
  height: 17.5em;
  background-color: #ffffff;
  border-radius: 0 0 0.3em 0.3em;
  border: 2px solid #24272e;
  box-sizing: border-box;
  cursor: pointer;
}
.white-key:hover {
  background-color: #ebebeb;
}
.black-key {
  width: 2.5em;
  height: 10em;
  border-radius: 0 0 0.3em 0.3em;
  box-sizing: border-box;
  position: absolute;
  background-color: #070a0f;
  cursor: pointer;
}
.black-key:hover {
  background-color: #24272e;
}
.black-key:nth-child(1) {
  left: 4em;
}
.black-key:nth-child(2) {
  left: 8.37em;
}
.black-key:nth-child(3) {
  left: 17.12em;
}
.black-key:nth-child(4) {
  left: 21.5em;
}
.black-key:nth-child(5) {
  left: 25.87em;
}
.black-key:nth-child(6) {
  left: 34.62em;
}
.black-key:nth-child(7) {
  left: 39em;
}
.black-key:nth-child(8) {
  left: 47.75em;
}
.black-key:nth-child(9) {
  left: 52.12em;
}
.black-key:nth-child(10) {
  left: 56.5em;
}

@media screen and (max-width: 1000px) {
  .piano-container {
    font-size: 0.7em;
  }
}
@media screen and (max-width: 700px) {
  .piano-container {
    font-size: 0.5em;
  }
}
@media screen and (max-width: 500px) {
  .piano-container {
    font-size: 0.3em;
  }
}
JS:
Finally, let’s add the JavaScript code to make the piano interactive:
let pianoContainer = document.getElementsByClassName("piano-container");
const base = "./audio/";
window.onload = () => {
  //24keys
  for (let index = 1; index <= 24; index++) {
    let div = document.createElement("div");
    div.classList.add("key", index <= 10 ? "black-key" : "white-key");
    //For playing audio on click
    const number = index <= 9 ? "0" + index : index;
    div.addEventListener("click", () => {
      new Audio(`${base}key${number}.mp3`).play();
    });
    pianoContainer[0].appendChild(div);
  }
};
Conclusion:
Congratulations! You have successfully created a virtual piano using HTML, CSS, and JavaScript. This interactive project allows users to play piano notes by clicking on the keys, providing an engaging musical experience. You can further customize and expand this project by adding additional features such as recording functionality or MIDI support. I hope you enjoyed this tutorial, and feel free to experiment and enhance the virtual piano to make it uniquely yours! Happy coding!


