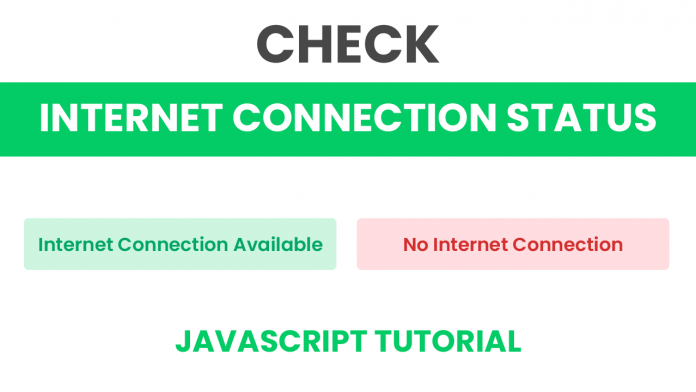
Welcome to today’s tutorial. In today’s tutorial, we will learn how to detect internet connection status. In this project, a message will be displayed telling whether you are connected to the internet or not.
For this tutorial, we will be using HTML, CSS and Javascript.
Video Tutorial:
I have a video version of this tutorial if you would like to watch it check out the video below.
Project Folder Structure:
Let us take a look at the project folder structure. The project folder is called – Check Internet Connection Status. Inside this folder, we have three files. The first is an HTML document – index.html. The stylesheet is the next one with the name – style.css. And the last one is the script file – script.js.
HTML:
We start with the HTML code. Now copy the code below and paste it into your HTML document. The HTML code consists of just an h1 tag with some demo text – “Sample Message”.
You don’t have to worry much about this text because we will be changing this text with javascript. We set the id of this h1 tag to message.
<!DOCTYPE html>
<html lang="en">
  <head>
    <meta name="viewport" content="width=device-width, initial-scale=1.0" />
    <title>Check Internet Connection Status</title>
    <!-- Google Font -->
    <link
      href="https://fonts.googleapis.com/css2?family=Poppins:wght@600&display=swap"
      rel="stylesheet"
    />
    <!-- Stylesheet -->
    <link rel="stylesheet" href="style.css" />
  </head>
  <body>
    <h1 id="message">Sample Message</h1>

    <!-- Script -->
    <script src="script.js"></script>
  </body>
</html>
CSS:
Next, we style this message using CSS. Do copy the code below and paste it into your stylesheet.
Firstly we remove all the unwanted margins and paddings from all the elements. Following this, we also set the box-sizing of all the elements to border-box.
Next, we use the id selector to select the message. We set the width of the message to 90vmin. Next, we centre the h1 element using transforms. I am using Poppins font here. You can use any font of your choice. Also, you can customize the message the way you like it.
* {
  padding: 0;
  margin: 0;
  box-sizing: border-box;
}
#message {
  width: 90vmin;
  position: absolute;
  transform: translate(-50%, -50%);
  top: 50%;
  left: 50%;
  font-family: "Poppins", sans-serif;
  text-align: center;
  font-weight: 600;
  letter-spacing: 0.02em;
  padding: 30px 0;
  border-radius: 8px;
  font-size: 4vmin;
}
Javascript:
Now to add functionality to this code we use javascript. We select the message and assign it to a variable. We use the navigator.onLine property. This property returns a boolean value. If the browser is connected to the internet it returns true or else it returns false.
We create two functions. First is if we detect an internet connection, we call the messageOnline function. Or else we call the messageOffline function.
The messageOnline function changes the text of the message to – Internet Connection Available. And sets the style of the message to a green theme.
The messageOffline function on the other hand changes the text to – No Internet Connection. It also changes the style of the message to a red theme.
Apart from this, to detect the change in the connection we use the online and offline event listener. You can now try switching between online and offline modes to test this code.
let message = document.getElementById("message");

let messageOnline = () => {
  message.textContent = "Internet Connection Available";
  message.style.cssText = "background-color: #e7f6d5; color: #689f38";
};
let messageOffline = () => {
  message.textContent = "No Internet Connection";
  message.style.cssText = "background-color: #ffdde0; color: #d32f2f";
};

if (window.navigator.onLine) {
  messageOnline();
} else {
  messageOffline();
}

window.addEventListener("online", messageOnline);
window.addEventListener("offline", messageOffline);
If you have any issues while coding please download the code provided below by clicking on the download code button. Also, all your suggestions and feedbacks are welcome.


