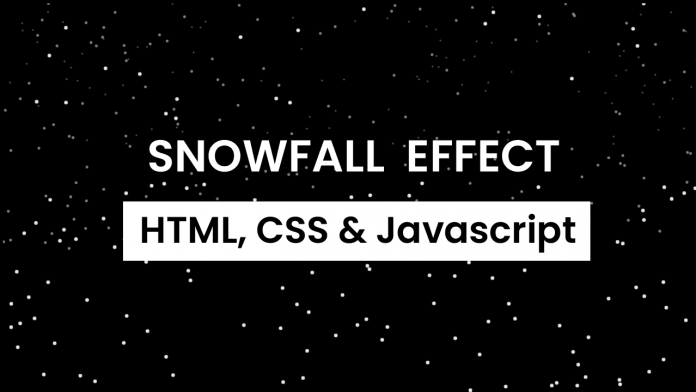
Hey everyone. Welcome to today’s tutorial. In today’s tutorial, we will learn how to create a snowfall effect.To build this effect we need Canvas and Javascript.
This is an intermediate to an expert-level tutorial. I would suggest you have basic knowledge of canvas before going for this project.
If you are interested to learn javascript through more such tutorials you can check out this playlist here. This playlist consists of about 100+ javascript projects. These projects are suitable for beginners, intermediates and experts. So do give it a try.
Video Tutorials:
If you prefer to learn through video tutorials rather than reading a blog post, you can check out the video down below. Also, subscribe to my youtube channel where I post new tutorials regularly.
Project Folder Structure:
Before we start coding let us create the project folder structure. We create a project folder called – ‘Snowfall Effect’. Inside this folder, we have three files. These files are index.html, style.css and script.js.
They are the HTML document, the stylesheet and the script file.
HTML:
We begin with the HTML code. The HTML code consists of just the canvas tag. Copy the code provided to you below and paste it into your HTML document.
<!DOCTYPE html>
<html lang="en">
  <head>
    <meta name="viewport" content="width=device-width, initial-scale=1.0" />
    <title>Snowfall Effect</title>
    <!-- Stylesheet -->
    <link rel="stylesheet" href="style.css" />
  </head>

  <body>
    <canvas id="canvas"></canvas>
    <!-- Script -->
    <script src="script.js"></script>
  </body>
</html>
CSS:
Next, we use CSS to change the background colour of the body to black. Copy the code provided to you below and paste it into your stylesheet.
* {
  box-sizing: border-box;
}
body {
  background-color: #000000;
  overflow: hidden;
}
Javascript:
Next, we implement the functionality using javascript. We do so in the following steps:
Create Initial References
Request Animation Frames
Create a Function to generate a number between a given range.
Function to create snowfall
Function to start snowfall
Define the properties of each snow particle
function on window load.
let canvas = document.getElementById("canvas");
let context = canvas.getContext("2d");
let width = window.innerWidth;
let height = window.innerHeight;
let nearParticles = [],
  middleParticles = [],
  farParticles = [];
let particleSettings = {
  count: 250,
  //count for wach layer. Increase/Decrease based on requirement
};

window.requestAnimationFrame =
  window.requestAnimationFrame ||
  window.webkitRequestAnimationFrame ||
  window.mozRequestAnimationFrame ||
  window.oRequestAnimationFrame ||
  window.msRequestAnimationFrame ||
  function (callback) {
    window.setTimeout(callback, 1000 / 60);
  };

//Random number in given range
function randomNumberGenerator(min, max) {
  return Math.random() * (max - min) + min;
}

function createsnowfall(particles, flag) {
  while (particles.length < particleSettings.count) {
    let particle;
    //create particles based on flag
    if (flag == "near") {
      //(area,alpha,vy)
      particle = new Particle(4, 0.9, 0.3);
    } else if (flag == "middle") {
      particle = new Particle(3, 0.5, 0.2);
    } else {
      particle = new Particle(2, 0.3, 0.1);
    }
    particle.color = `rgb(255,255,255)`;
    particles.push(particle);
  }
}

function startSnowFall() {
  context.fillStyle = "rgba(0,0,0,1)";
  context.fillRect(0, 0, width, height);
  createsnowfall(nearParticles, "near");
  createsnowfall(farParticles, "far");
  createsnowfall(middleParticles, "middle");
  //combine all and sortg randomly
  particles = [...nearParticles, ...middleParticles, ...farParticles];
  particles = particles.sort(() => 0.5 - Math.random());
  for (let i in particles) {
    particles[i].draw();
    //If particle has crossed screen height
    if (particles[i].y > height) {
      particles[i].y = Math.random() * height - height;
    }
  }
  window.requestAnimationFrame(startSnowFall);
}

function Particle(areaValue, alphaValue, vyValue) {
  this.area = areaValue;
  this.x = Math.random() * width;
  this.y = Math.random() * height - height;
  this.alpha = alphaValue;
  this.vy = vyValue * 10;
}

Particle.prototype = {
  draw: function () {
    this.y += (Math.cos(this.area) + this.vy) * 0.3;
    context.save();
    context.beginPath();
    context.arc(this.x, this.y, this.area, 0, Math.PI * 2);
    context.fillStyle = this.color;
    context.globalAlpha = this.alpha;
    context.closePath();
    context.fill();
    context.restore();
  },
};

window.onload = () => {
  canvas.width = width;
  canvas.height = height;
  nearParticles = [];
  middleParticles = [];
  farParticles = [];
  window.requestAnimationFrame(startSnowFall);
};
That’s all for this tutorial. If you face any issues while creating this code you can download the source code by clicking on the download button below. Also, If you have any queries, suggestions, or feedback you can comment on them below.
Happy coding


