Introduction:
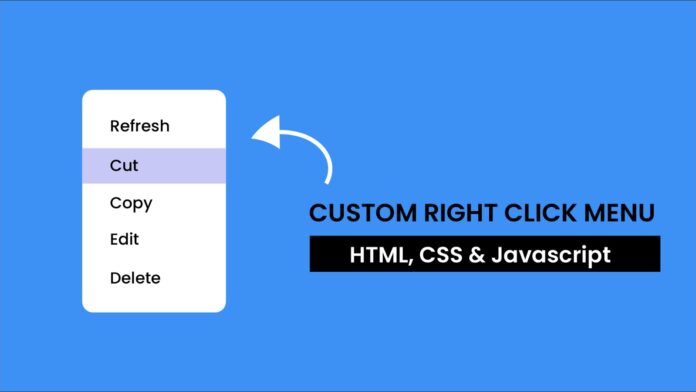
Building a custom right-click menu is a great way to personalize user interactions on your website. This tutorial demonstrates how to create a custom context menu that appears at the exact spot where the user clicks, replacing the default browser menu.
Things You Will Learn:
- How to capture the right-click event
- How to prevent the browser’s default context menu
- How to position elements dynamically based on user interaction
- How to hide and show custom menus
Video Tutorial:
If you prefer to learn by watching a video tutorial over reading this lengthy blog post you can watch the video tutorial here down below. Also do not forget to subscribe to my YouTube channel where I post tips, tricks and tutorials related to web development regularly.
Project Folder Structure:
Now before we move on to actual coding we create a project folder structure. We name the project folder as – ‘Custom Right Click Menu | HTML, CSS & Javascript’. Within this folder we have 3 files. These files are:
- index.html
- style.css
- script.js
HTML:
We begin with the HTML code. Copy the code below and paste it into your HTML document.
<!DOCTYPE html>
<html lang="en">
  <head>
    <meta name="viewport" content="width=device-width, initial-scale=1.0" />
    <title>Custom Right Click Menu</title>
    <link rel="stylesheet" href="style.css" />
  </head>
  <body>
    <div class="custom-menu" id="customMenu">
      <ul>
        <li>Refresh</li>
        <li>Edit</li>
        <li>Delete</li>
      </ul>
    </div>
    <script src="script.js"></script>
  </body>
</html>
CSS:
Time to bring some design to life! Add the following CSS code to your stylesheet.
body {
  background-color: #3d91f5;
  font-family: "Poppins", sans-serif;
}
.custom-menu {
  display: none;
  position: absolute;
  font-size: 20px;
  background-color: #ffffff;
  color: #020332;
  box-shadow: 0 0 30px rgba(0, 0, 0, 0.2);
  z-index: 2000;
  border-radius: 10px;
  overflow: hidden;
}
.custom-menu ul {
  list-style: none;
  margin: 0;
  padding: 0;
}
.custom-menu ul li {
  padding: 10px 50px;
  cursor: pointer;
  transition: background 0.3s;
}
.custom-menu ul li:hover {
  background-color: #c7c8f5;
}
JS:
Finally, we add functionality using Javascript. For this once again copy the code below and paste it into your script file.
const customMenu = document.getElementById("customMenu");
document.addEventListener("contextmenu", (event) => {
  event.preventDefault();
  //Set positiom of the custom menu to where user clicked
  customMenu.style.top = `${event.pageY}px`;
  customMenu.style.left = `${event.pageX}px`;
  customMenu.style.display = "block";
});
document.addEventListener("click", () => {
  customMenu.style.display = "none";
});
Conclusion:
You created a custom right-click menu using JavaScript, allowing you to replace the browser’s default context menu with your own. This project demonstrated how to handle user interactions dynamically and enhance the functionality of a webpage. Add additional features, such as handling menu options, to further customize the user experience. Keep experimenting!


