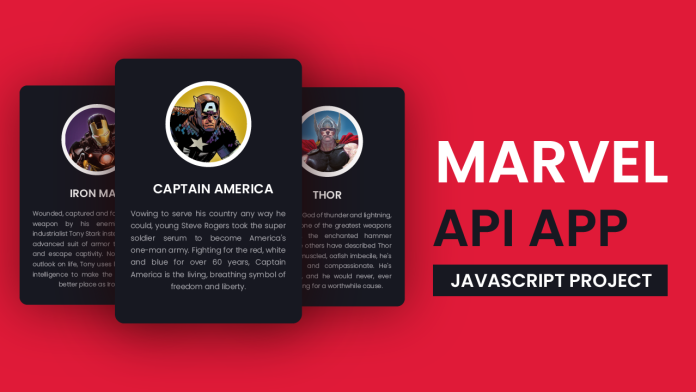
Welcome to yet another exciting tutorial by Coding Artist. Building projects is one of the best ways to learn JavaScript. So in today’s tutorial let us expand our JavaScript knowledge with a fun and easy-to-build project called ‘Marvel API App’. To build this project we need HTML, CSS, JavaScript, and the Marvel API.
Video Tutorial:
Before we move on to the actual tutorial, you can check out the video tutorial of this post here. If you like video tutorials like this subscribe to my YouTube channel, where I post new projects based on HTML, CSS, and JavaScript regularly.
Project Folder Structure:
Let’s build the project folder structure before we begin writing the code. We create a project folder called ‘Marvel API App’. Inside this folder, we have four files. These files are ‘index.html’, ‘style.css’, ‘script.js’, and ‘api-data.js’.
HTML:
We begin with the HTML Code. First, create a file called – ‘index.html’. Copy the code below and paste it into your HTML file.
<!DOCTYPE html>
<html lang="en">
  <head>
    <meta name="viewport" content="width=device-width, initial-scale=1.0" />
    <title>Marvel API App</title>
    <!-- Google Font -->
    <link
      href="https://fonts.googleapis.com/css2?family=Poppins:wght@300;600&display=swap"
      rel="stylesheet"
    />
    <!-- Stylesheet -->
    <link rel="stylesheet" href="style.css" />
  </head>
  <body>
    <div class="container">
      <div class="input-container">
        <input type="text" class="input" value="iron man" id="input-box" />
        <button class="button" id="submit-button">Submit</button>
      </div>
      <div class="list"></div>
      <div class="display-container" id="show-container"></div>
    </div>
    <!-- API Data -->
    <script src="api-data.js"></script>
    <!-- Script -->
    <script src="script.js"></script>
  </body>
</html>
CSS:
Next, we style our slider using CSS. For this copy, the code provided to you below and paste it into your stylesheet.
* {
  padding: 0;
  margin: 0;
  box-sizing: border-box;
  font-family: "Poppins", sans-serif;
}
body {
  background-color: #e01a38;
}
.container {
  background-color: #171821;
  width: 90%;
  max-width: 500px;
  margin: 0 auto;
  padding: 3em 2em;
  position: absolute;
  transform: translateX(-50%);
  left: 50%;
  right: 50%;
  top: 1em;
  border-radius: 1em;
}
.input-container {
  display: grid;
  grid-template-columns: 9fr 3fr;
  gap: 1em;
}
input {
  padding: 1em 0.5em;
  background-color: #3a3939;
  color: #ffffff;
  border: none;
  border-radius: 0.5em;
  outline: none;
}
button {
  outline: none;
  border: none;
  background-color: #e01a38;
  color: #ffffff;
  border-radius: 0.5em;
}
.display-container {
  padding: 1em;
}
.container-character-image {
  background-color: #ffffff;
  padding: 0.5em;
  height: 9.37em;
  width: 9.37em;
  display: block;
  margin: auto;
  border-radius: 50%;
}
.container-character-image img {
  width: 100%;
  position: relative;
  width: block;
  border-radius: 50%;
}
.character-name {
  padding: 0.5em 0 0.8em 0;
  text-align: center;
  color: #ffffff;
  text-transform: uppercase;
  font-size: 1.2em;
  font-weight: 600;
}
.character-description {
  text-align: justify;
  color: #a0a0a6;
  line-height: 2em;
  font-weight: 300;
}
.list {
  position: absolute;
  width: 64%;
  background-color: #555;
  color: #ffffff;
  z-index: 1;
}
.autocomplete-items {
  padding: 0.5em;
}
.autocomplete-items:hover {
  background-color: #ddd;
  color: #171821;
}
Javascript:
Finally, we add the functionality using Javascript. Once again, copy the code below and paste it into your script file.
Firstly we create Initial References to HTML elements.
Then we assign values from an array to the variables required for making the API call.
When the page loads/user clicks on submit a call is made to the “getResult” function which first checks if the input is blank, else it clears any previous search results and then constructs a URL for making an API call. The response from API is then used to create UI for our card.
When the user enters any input in the input box we call the “removeElements” function for cleaning existing suggestions. Then if the length of the word is more than 3 we call the Marvel API for getting suggested names based on input. Each name can be clicked and would replace the value in the input box.
let input = document.getElementById("input-box");
let button = document.getElementById("submit-button");
let showContainer = document.getElementById("show-container");
let listContainer = document.querySelector(".list");

let date = new Date();
console.log(date.getTime());

const [timestamp, apiKey, hashValue] = [ts, publicKey, hashVal];

function displayWords(value) {
  input.value = value;
  removeElements();
}

function removeElements() {
  listContainer.innerHTML = "";
}

input.addEventListener("keyup", async () => {
  removeElements();
  if (input.value.length < 4) {
    return false;
  }

  const url = `https://gateway.marvel.com:443/v1/public/characters?ts=${timestamp}&apikey=${apiKey}&hash=${hashValue}&nameStartsWith=${input.value}`;

  const response = await fetch(url);
  const jsonData = await response.json();

  jsonData.data["results"].forEach((result) => {
    let name = result.name;
    let div = document.createElement("div");
    div.style.cursor = "pointer";
    div.classList.add("autocomplete-items");
    div.setAttribute("onclick", "displayWords('" + name + "')");
    let word = "<b>" + name.substr(0, input.value.length) + "</b>";
    word += name.substr(input.value.length);
    div.innerHTML = `<p class="item">${word}</p>`;
    listContainer.appendChild(div);
  });
});

button.addEventListener(
  "click",
  (getRsult = async () => {
    if (input.value.trim().length < 1) {
      alert("Input cannot be blank");
    }
    showContainer.innerHTML = "";
    const url = `https://gateway.marvel.com:443/v1/public/characters?ts=${timestamp}&apikey=${apiKey}&hash=${hashValue}&name=${input.value}`;

    const response = await fetch(url);
    const jsonData = await response.json();
    jsonData.data["results"].forEach((element) => {
      showContainer.innerHTML = `<div class="card-container">
        <div class="container-character-image">
        <img src="${
          element.thumbnail["path"] + "." + element.thumbnail["extension"]
        }"/></div>
        <div class="character-name">${element.name}</div>
        <div class="character-description">${element.description}</div>
        </div>`;
    });
  })
);
window.onload = () => {
  getRsult();
};
let ts = "1681802982683";
let publicKey = "";
let hashVal = "";
Go ahead and customize the project the way you like. If you have any queries, suggestions, or feedback comment below. Download the source code by clicking on the ‘Download Code’ button below.


Great stuff, thanks for doing this!
Can you please explain where you got the publicKey and hashVal?