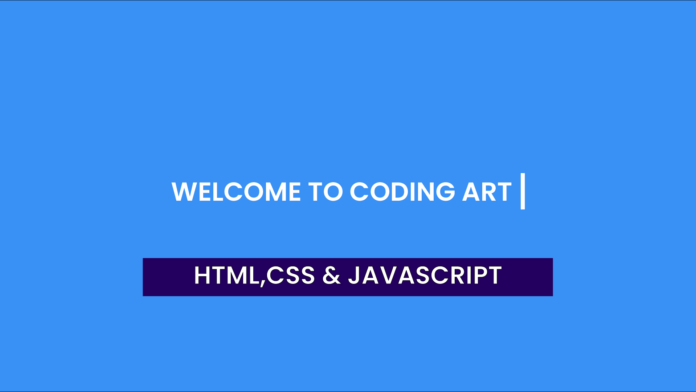
Adding a typing effect to your website is a fantastic way to engage users and bring your content to life. In this tutorial, we’ll create a simple yet elegant typing effect that displays text character by character, followed by a blinking cursor. Let’s dive in!
Technologies Used
- HTML: For the structure of the typing effect.
- CSS: To style the text, cursor, and overall layout.
- JavaScript: To bring the typing effect to life with dynamic character display.
Video Tutorial:
For a more in-depth explanation and hands-on walkthrough, check out our video tutorial. It covers each step of building the typing effect, from writing the HTML structure to styling with CSS and adding functionality with JavaScript. Watch the video to see the effect action and follow along easily!
HTML Code
Start by creating a simple structure for the typing effect.
<!DOCTYPE html>
<html lang="en">
  <head>
    <meta name="viewport" content="width=device-width, initial-scale=1.0" />
    <title>Typing Effect</title>
    <link rel="stylesheet" href="style.css" />
  </head>
  <body>
    <div class="typing-container">
      <span class="typing-text" id="typingText"></span>
      <span class="cursor" id="cursor">|</span>
    </div>
    <script src="script.js"></script>
  </body>
</html>
Explanation:
- The
typing-containerwraps the text and the blinking cursor. - The
typing-textspan will dynamically display the text. - The
cursorspan is styled to blink, enhancing the typing effect
CSS Code
Style the container, text, and cursor for a polished look.
body {
  font-family: "Poppins", sans-serif;
  display: flex;
  justify-content: center;
  align-items: center;
  height: 100vh;
  margin: 0;
  background-color: #3991f5;
}
.typing-container {
  display: flex;
  align-items: center;
  font-size: 1.5rem;
  white-space: nowrap;
}
.typing-text {
  font-weight: bold;
  letter-spacing: 1px;
}
.cursor {
  font-weight: bold;
  font-size: 1.5rem;
  margin-left: 2px;
  animation: blink 0.6s step-end infinite;
}
@keyframes blink {
  50% {
    opacity: 0;
  }
}
Explanation:
- The body is centered using Flexbox and styled with a blue background.
- The
typing-textis styled with bold font and letter spacing for readability. - The blinking effect for the cursor is created with a
@keyframesanimation that toggles its opacity.
JavaScript Code
Now, let’s write the JavaScript to bring the typing effect to life.
const text = "Welcome To Coding Artist";
const typingText = document.getElementById("typingText");
const cursor = document.getElementById("cursor");
let index = 0;

function type() {
  if (index < text.length) {
    typingText.textContent += text.charAt(index);
    index++;
    setTimeout(type, 200);
  } else {
    cursor.style.display = "none";
  }
}

document.addEventListener("DOMContentLoaded", () => {
  type();
});
Explanation:
- The
textvariable stores the text that will appear. - The
typefunction displays one character at a time with a delay of 200ms. - Once the text is fully displayed, the blinking cursor is hidden.
- The typing effect starts as soon as the page loads, thanks to the
DOMContentLoadedevent listener.
- The
Conclusion
This typing effect is a great way to add a dynamic and interactive element to your website. Whether it’s for a portfolio, landing page, or blog, it grabs attention and adds a touch of personality.
Start implementing this effect today, and let us know how it elevates your project!


