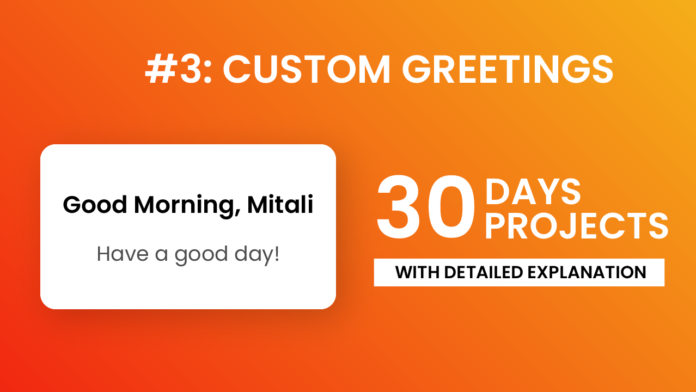
Creating a personalized user experience on the web doesn’t always require complex tools—sometimes a simple combination of HTML, CSS, and JavaScript can go a long way. In this tutorial, we’ve built a small yet dynamic greeting card that displays a time-based greeting with the user’s name. Let’s walk through how each part of the code works.
HTML: Structuring the Greeting Card:
The HTML structure defines the basic layout of our greeting card. We’ve created a div with a class of card, which contains two elements inside it: one for the greeting and another for a friendly subtext. The greeting element dynamically displays a message like “Good Morning, John!”, while the subtext remains constant with a positive note—“Hope you have a wonderful day!”. This structure ensures that the card is easy to style and interact with.
<!DOCTYPE html>
<html lang="en">
  <head>
    <meta charset="UTF-8" />
    <title>Personalized Greeting</title>
    <style></style>
    <link rel="stylesheet" href="style.css" />
  </head>
  <body>
    <div class="card">
      <div id="greeting">Loading greeting...</div>
      <div class="subtext">Hope you have a wonderful day!</div>
    </div>
    <script src="script.js"></script>
  </body>
</html>
CSS:
he CSS gives the card its modern and visually appealing look. We start with a universal reset to ensure consistency across browsers. The body is styled with a vibrant linear gradient background and uses Flexbox to center the card both vertically and horizontally. The .card class has a white background, rounded corners, padding, and a subtle shadow to make it stand out. On hover, it slightly scales up for an interactive feel. The text inside is styled for readability, using the Poppins font for a clean, friendly appearance.
* {
  margin: 0;
  padding: 0;
  box-sizing: border-box;
}

body {
  height: 100vh;
  display: flex;
  justify-content: center;
  align-items: center;
  background: linear-gradient(45deg, #f12711, #f5af19);
  font-family: "Poppins", sans-serif;
}

.card {
  background: white;
  padding: 40px 60px;
  border-radius: 15px;
  box-shadow: 0 15px 25px rgba(0, 0, 0, 0.2);
  text-align: center;
  max-width: 500px;
  width: 90%;
  transition: transform 0.3s ease;
}

.card:hover {
  transform: scale(1.02);
}

#greeting {
  font-size: 2.2em;
  margin-bottom: 10px;
  font-weight: 600;
}

.subtext {
  font-size: 1em;
  color: #333333;
}
Javascript:
The JavaScript is where the magic happens. It prompts the user for their name and stores it in a variable. If the user leaves the input blank or cancels it, a fallback name “Guest” is used. Then, based on the current hour of the day, the script generates a suitable greeting—“Good Morning”, “Good Afternoon”, “Good Evening”, or “Good Night”. This greeting is combined with the user’s name and displayed in the designated greeting element inside the card. This adds a personal touch to the card and makes the page feel more interactive and thoughtful.
let name = prompt("What's your name?");

if (!name || name.trim() === "") {
  name = "Guest";
}

const greetingEl = document.getElementById("greeting");
const currentHour = new Date().getHours();

let greetingMessage = "";

if (currentHour < 12) {
  greetingMessage = `Good Morning, ${name}!`;
} else if (currentHour < 17) {
  greetingMessage = `Good Afternoon, ${name}!`;
} else if (currentHour < 21) {
  greetingMessage = `Good Evening, ${name}!`;
} else {
  greetingMessage = `Good Night, ${name}!`;
}

greetingEl.textContent = greetingMessage;
With just a few lines of code, we’ve created a personalized greeting card that feels welcoming and responsive. This project is a great example of how HTML provides the structure, CSS delivers the style, and JavaScript brings it all to life. It’s simple, elegant, and a perfect beginner-friendly project to practice front-end skills.


