Video Tutorial:
If you prefer to learn by coding along with a video tutorial rather than reading this blog post, please check out this video here down below. I post regular tricks, tips and tutorials on my youtube channel. Be sure to subscribe to my channel so you don’t miss any of these tutorials.
Project Folder Structure:
Before we start coding, let us create the project folder structure. We begin by creating a folder called – ‘Copy Text From Input Field’. Inside this folder, we have three files. These files are index.html, style.css and script.js. They are the HTML document, stylesheet and script file respectively.
HTML:
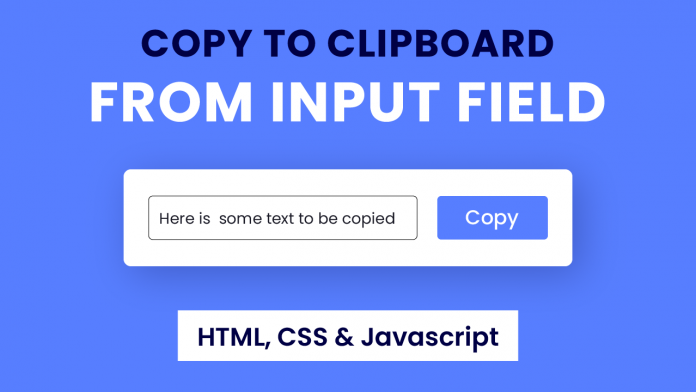
Let us start with the HTML code. The HTML code consists of two divs with class name – ‘container’. Inside each div, there is an input element and a button.
Each of the input fields has a unique id. We use an inline click event handler specified with the copy() on buttons. Next, we pass the ids of the input element to the copy() of the corresponding buttons.
<!DOCTYPE html>
<html lang="en">
  <head>
    <meta name="viewport" content="width=device-width, initial-scale=1.0" />
    <title>Copy Text From Input Field</title>
    <!-- Google Fonts -->
    <link
      href="https://fonts.googleapis.com/css2?family=Poppins&display=swap"
      rel="stylesheet"
    />
    <!-- Stylesheet -->
    <link rel="stylesheet" href="style.css" />
  </head>
  <body>
    <div class="container">
      <input type="text" id="text-1" value="Some text to be copied" />
      <button onclick="copy('text-1')">Copy Text</button>
    </div>
    <div class="container">
      <input type="text" id="text-2" value="Here is another text" />
      <button onclick="copy('text-2')">Copy Text</button>
    </div>
    <!-- Script -->
    <script src="script.js"></script>
  </body>
</html>
CSS:
Now we style the inputs and buttons using CSS. You can skip this as it has nothing to do with the functionality. We start by removing paddings and margins from all the elements.
Next, we set the height of the body to 100vh and display to ‘flex’. We place the containers using the flex properties.
Other Tutorial You Might Like:
Next, we style the inputs by setting font size, paddings and border radius. We also style the button by setting the background color to ‘#577eff’ and color to ‘#ffffff’.
* {
  padding: 0;
  margin: 0;
  box-sizing: border-box;
  font-family: "Poppins", sans-serif;
}
body {
  height: 100vh;
  background-color: #577eff;
  display: flex;
  flex-direction: column;
  align-items: center;
  justify-content: center;
}
.container {
  background-color: #ffffff;
  padding: 30px;
  border-radius: 10px;
  margin: 30px 0;
}
.container input {
  font-size: 18px;
  padding: 10px;
  border-radius: 5px;
  border: 1px solid #000000;
}
.container button {
  font-size: 18px;
  padding: 10px 20px;
  background-color: #577eff;
  color: #ffffff;
  border: none;
  border-radius: 5px;
  margin-left: 10px;
}
Javascript:
Finally, we add functionality to this code using Javascript. We start by defining the copy(). This function takes ‘textId’ as a parameter.
We use the select() to copy the text in the <input> element with the corresponding ‘textId’. In the final step, we use ‘execCommand(“copy”)’ to copy the selected text to the clipboard. You can now try pasting the copied text somewhere to ensure it’s working.
//Pass the id of the <input> element to be copied as a parameter to the copy()
let copy = (textId) => {
  //Selects the text in the <input> elemet
  document.getElementById(textId).select();
  //Copies the selected text to clipboard
  document.execCommand("copy");
};
Your copy to clipboard from input field is now ready. If you have any issues while creating this code you can download the source code by clicking on the download button below. Also don’t forget to leave your queries, suggestions and feedback in the comments below.
Happy Coding!


