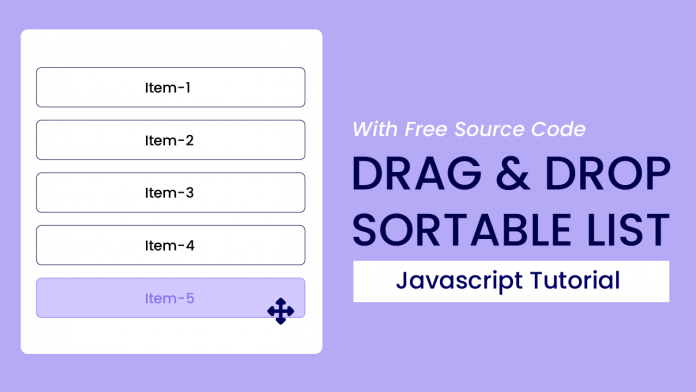
Welcome to yet another exciting tutorial by Coding Artist. Building projects is one of the best ways to learn JavaScript. So in today’s tutorial let us expand our javascript knowledge with a fun and easy-to-build project called ‘Drag and Drop Sortable list’. To build this project we need HTML, CSS, and Javascript.
Video Tutorial:
For a better understanding of how we built the functionality of this project, I would advise you to watch the video below. If you find the video helpful give it a like and subscribe to my YouTube channel where I post new tips, tricks, and tutorials related to HTML, CSS, and Javascript.
Project Folder Structure:
Let’s build the project folder structure before we begin writing the code. We create a project folder called ‘Drag and Drop Sortable list’. Inside this folder, we have three files. These files are index.html, style.css, and script.js.
HTML:
We begin with the HTML Code. First, create a file called – ‘index.html’. Copy the code below and paste it into your HTML file.
<!DOCTYPE html>
<html lang="en">
  <head>
    <meta name="viewport" content="width=device-width, initial-scale=1.0" />
    <title>Drag & Drop Sortable List</title>

    <!-- Stylesheet -->
    <link rel="stylesheet" href="style.css" />
  </head>
  <body>
    <div class="container">
      <ul id="list"></ul>
    </div>
    <!-- Script -->
    <script src="script.js"></script>
  </body>
</html>
CSS:
Next, we style our list using CSS. For this copy, the code provided to you below and paste it into your stylesheet.
* {
  box-sizing: border-box;
}
body {
  margin: 0;
  padding: 0;
  background-color: #b5aaf5;
}
.container {
  font-family: "Poppins", sans-serif;
  background-color: #ffffff;
  padding: 3em 2em;
  width: 90%;
  max-width: 37em;
  position: absolute;
  transform: translate(-50%, -50%);
  top: 50%;
  left: 50%;
  border-radius: 0.8em;
}
#list {
  position: relative;
  padding-inline-start: 0;
  list-style-type: none;
}
.list-item {
  padding: 0.8em 0;
  border-radius: 0.2em;
  margin: 1em auto;
  border: 1px solid #000000;
  text-align: center;
}
.list-item:hover {
  cursor: move;
  background-color: #d1c9ff;
  border-color: #8673f2;
  color: #8673f2;
}
Javascript:
- Create Initial References to HTML elements
- When the page loads, we create a list using the ‘creator’ function. Each list item contains a custom attribute ‘data-value’ which holds the number that is displayed. Then we attach event listeners and functions to each list item. The list of event listeners for desktop includes “dragstart”, “dragover”, and “drop”, on the other hand for touchscreen we simply use “touchstart” and “touchmove”.
- On “dragstart” We save the x and y coordinates in the “initialX” and “initialY” variables and store the currently selected element in the ‘currentElement’ variable.
- On “dragover”, we prevent the default behavior. This would allow the dragged element to move from the initial place.
- Finally, when the user drops the list item the ‘drop’ function is called which stores the new x and y coordinates in ‘newX’ and “newY” and then gets the list item at those points. Now we retrieve the stored data value from both the current and target div and send the values to ‘getPosition’ which returns the index of the element. Now we check if the index of the current element is less than the target element. If yes then we insert the element after the target else we insert it before the target element.
let currentElement = "";
let list = document.getElementById("list");
let initialX = 0,
  initialY = 0;

const isTouchDevice = () => {
  try {
    //We try to create TouchEvent (it would fail for desktops and throw error)
    document.createEvent("TouchEvent");
    return true;
  } catch (e) {
    return false;
  }
};

//Create List Items
const creator = (count) => {
  for (let i = 1; i <= count; i++) {
    list.innerHTML += `<li class="list-item" data-value ="${i}">Item-${i} </li>`;
  }
};

//Returns element index with given value
const getPosition = (value) => {
  let elementIndex;
  let listItems = document.querySelectorAll(".list-item");
  listItems.forEach((element, index) => {
    let elementValue = element.getAttribute("data-value");
    if (value == elementValue) {
      elementIndex = index;
    }
  });
  return elementIndex;
};

//Drag and drop functions
function dragStart(e) {
  initialX = isTouchDevice() ? e.touches[0].clientX : e.clientX;
  initialY = isTouchDevice() ? e.touches[0].clientY : e.clientY;
  //Set current Element
  currentElement = e.target;
}
function dragOver(e) {
  e.preventDefault();
}

const drop = (e) => {
  e.preventDefault();
  let newX = isTouchDevice() ? e.touches[0].clientX : e.clientX;
  let newY = isTouchDevice() ? e.touches[0].clientY : e.clientY;

  //Set targetElement(where we drop the picked element).It is based on mouse position
  let targetElement = document.elementFromPoint(newX, newY);
  let currentValue = currentElement.getAttribute("data-value");
  let targetValue = targetElement.getAttribute("data-value");
  //get index of current and target based on value
  let [currentPosition, targetPosition] = [
    getPosition(currentValue),
    getPosition(targetValue),
  ];
  initialX = newX;
  initialY = newY;

  try {
    //'afterend' inserts the element after the target element and 'beforebegin' inserts before the target element
    if (currentPosition < targetPosition) {
      targetElement.insertAdjacentElement("afterend", currentElement);
    } else {
      targetElement.insertAdjacentElement("beforebegin", currentElement);
    }
  } catch (err) {}
};

window.onload = async () => {
  customElement = "";
  list.innerHTML = "";
  //This creates 5 elements
  await creator(5);

  let listItems = document.querySelectorAll(".list-item");
  listItems.forEach((element) => {
    element.draggable = true;
    element.addEventListener("dragstart", dragStart, false);
    element.addEventListener("dragover", dragOver, false);
    element.addEventListener("drop", drop, false);
    element.addEventListener("touchstart", dragStart, false);
    element.addEventListener("touchmove", drop, false);
  });
};
Go ahead and customize the project the way you like. If you have any queries, suggestions, or feedback comment below. Download the source code by clicking on the ‘Download Code’ button below.


