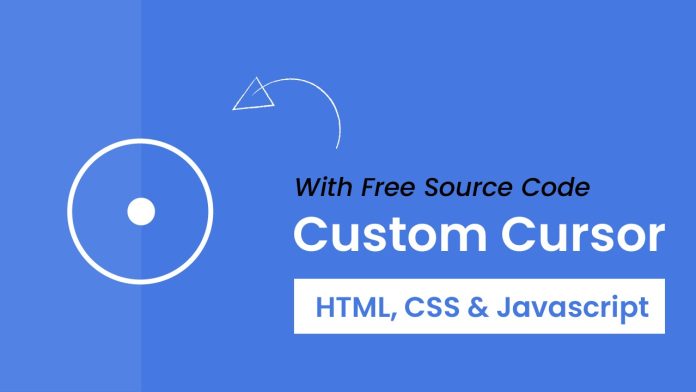
Introduction:
Are you tired of the same old mouse cursor on your website? Looking for a way to add a touch of interactivity and creativity to your web projects? Well, you’re in luck! In this tutorial, we will show you how to create custom interactive cursors using HTML, CSS, and JavaScript. These cursors will not only catch your visitors’ attention but also enhance the overall user experience.
Things You Will Learn:
By the end of this tutorial, you will have the knowledge and skills to:
- Detect whether a user is on a touch device or using a mouse.
- Create custom cursors that respond to user input.
- Implement smooth cursor animations.
- Add a touch of interactivity and creativity to your web projects.
Video Tutorial:
If you want to learn by watching a video tutorial rather than reading a blog post, you can check out the video below. Also, subscribe to my YouTube channel where I post new tutorials every alternate day.
Project Folder Structure:
Let us explore the project folder structure. The project folder consists of 3 files. The HTML file creates the elements required to build the structure and layout of our project. Next, the CSS file styles the elements that we have created with CSS. Finally, Javascript adds functionality to our project. The files used are:
- index.html
- style.css
- script.js
HTML:
We begin with the HTML code. Copy the code below and paste it into your HTML document.
<!DOCTYPE html>
<html lang="en">
  <head>
    <meta charset="UTF-8" />
    <meta http-equiv="X-UA-Compatible" content="IE=edge" />
    <meta name="viewport" content="width=device-width, initial-scale=1.0" />
    <link rel="stylesheet" href="style.css" />
    <title>Cursor Effect</title>
  </head>

  <body>
    <div id="cursor"></div>
    <div id="cursor-border"></div>
    <script src="script.js"></script>
  </body>
</html>
CSS:
Next, we style our code using CSS. For this copy, the code provided to you below and paste it into your stylesheet.
* {
  margin: 0;
  cursor: none;
}

body {
  background-color: #4578e1;
  height: 100vh;
  overflow: hidden;
}

#cursor {
  position: absolute;
  background-color: #fff;
  height: 10px;
  width: 10px;
  border-radius: 50%;
  transform: translate(-50%, -50%);
  pointer-events: none;
}

#cursor-border {
  position: absolute;
  width: 50px;
  height: 50px;
  background-color: transparent;
  border: 1px solid #fff;
  border-radius: 50%;
  transform: translate(-50%, -50%);
  pointer-events: none;
  transition: all 0.2s ease-out;
}
JS:
Finally, we add functionality using Javascript. For this once again copy the code below and paste it into your script file.
const cursor = document.getElementById('cursor');
const cursorBorder = document.getElementById('cursor-border');

let cursorX = 0,
  cursorY = 0,
  borderX = 0,
  borderY = 0;
let deviceType = '';
//check if it is a touch device
const isTouchDevice = () => {
  try {
    document.createEvent('TouchEvent');
    deviceType = 'touch';
    return true;
  } catch (e) {
    deviceType = 'mouse';
    return false;
  }
};
//move
const move = (e) => {
  cursorX = !isTouchDevice() ? e.clientX : e.touches[0].clientX;
  cursorY = !isTouchDevice() ? e.clientY : e.touches[0].clientY;
  cursor.style.left = `${cursorX}px`;
  cursor.style.top = `${cursorY}px`;
};

document.addEventListener('mousemove', (e) => {
  move(e);
});
document.addEventListener('touchmove', (e) => {
  move(e);
});
document.addEventListener('touchend', (e) => {
  e.preventDefault();
});

//animate border
const borderAnimation = () => {
  const gapValue = 5;
  borderX += (cursorX - borderX) / gapValue;
  borderY += (cursorY - borderY) / gapValue;
  cursorBorder.style.left = `${borderX}px`;
  cursorBorder.style.top = `${borderY}px`;
  requestAnimationFrame(borderAnimation);
};

requestAnimationFrame(borderAnimation);
Conclusion:
Adding custom interactive cursors to your web projects can make a significant difference in user engagement and overall design. With just a few lines of HTML, CSS, and JavaScript, you can create a unique and memorable browsing experience for your website visitors.
Now that you’ve learned how to create these custom cursors, don’t hesitate to experiment with different styles and animations to match your website’s aesthetic. Happy coding!


