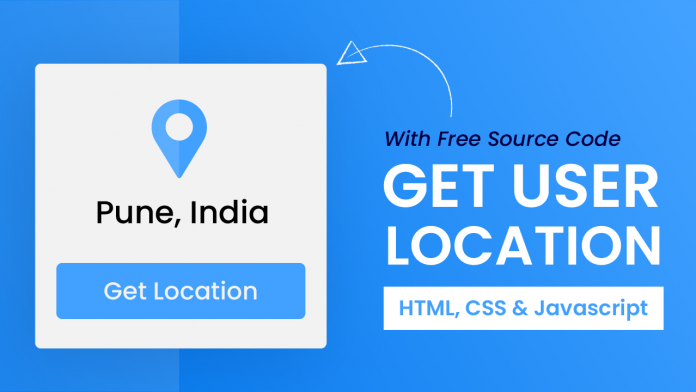
Video Tutorial:
If you would like to learn this project by watching a video tutorial rather than reading this blog post, you can check out this video here down below. I post regular tutorials on web development on my youtube channel regularly. Apart from that, I also post quizzes based on HTML, CSS and Javascript.
HTML:
Let us begin by creating the project folder structure. We create a folder called – ‘Get User Location’. Inside this folder, we have four files. These files are index.html, style.css, script.js and location.svg. They are the HTML document, stylesheet, script file and image file respectively.
<!DOCTYPE html>
<html lang="en">
  <head>
    <meta name="viewport" content="width=device-width, initial-scale=1.0" />
    <title>Get User Location</title>
    <!-- Google Fonts -->
    <link
      href="https://fonts.googleapis.com/css2?family=Poppins:wght@500&display=swap"
      rel="stylesheet"
    />
    <!-- Stylesheet -->
    <link rel="stylesheet" href="style.css" />
  </head>
  <body>
    <div class="container">
      <img src="location.svg" />
      <div id="location-details">Click on the 'Get Location' Button</div>
      <button id="get-location">Get Location</button>
    </div>
    <!-- Script -->
    <script src="script.js"></script>
  </body>
</html>
CSS:
We start with the HTML section. This creates the structure necessary for our project. Now copy the code below and paste it into your HTML file. Next, we style our project using CSS. For this copy, the code provided to you below and paste it into your stylesheet.
* {
  padding: 0;
  margin: 0;
  box-sizing: border-box;
  font-family: "Poppins", sans-serif;
}
body {
  height: 100vh;
  background: linear-gradient(45deg, #0076ec, #42a1ff);
}
.container {
  width: 80vw;
  max-width: 37.5em;
  background-color: #ffffff;
  padding: 3em 1.8em;
  position: absolute;
  transform: translate(-50%, -50%);
  top: 50%;
  left: 50%;
  border-radius: 0.6em;
  box-shadow: 0 0.6em 2.5em rgba(0, 7, 70, 0.2);
}
.container img {
  width: 6.25em;
  display: block;
  margin: auto;
}
#location-details {
  font-size: 1.75em;
  text-align: center;
  margin: 1em 0 1.7em 0;
  color: #021d38;
  font-weight: 500;
}
.container button {
  display: block;
  margin: auto;
  background-color: #42a1ff;
  color: #ffffff;
  border: none;
  font-size: 1.25em;
  padding: 1em 2.5em;
  border-radius: 0.25em;
  cursor: pointer;
}
Javascript:
Lastly, all that is left is to add functionality to this project. For this we use javascript. I have added comments for each line of code to explain how it works. I hope that helps.
let locationButton = document.getElementById("get-location");
let locationDiv = document.getElementById("location-details");

locationButton.addEventListener("click", () => {
  //Geolocation APU is used to get geographical position of a user and is available inside the navigator object
  if (navigator.geolocation) {
    //returns position(latitude and longitude) or error
    navigator.geolocation.getCurrentPosition(showLocation, checkError);
  } else {
    //For old browser i.e IE
    locationDiv.innerText = "The browser does not support geolocation";
  }
});

//Error Checks
const checkError = (error) => {
  switch (error.code) {
    case error.PERMISSION_DENIED:
      locationDiv.innerText = "Please allow access to location";
      break;
    case error.POSITION_UNAVAILABLE:
      //usually fired for firefox
      locationDiv.innerText = "Location Information unavailable";
      break;
    case error.TIMEOUT:
      locationDiv.innerText = "The request to get user location timed out";
  }
};

const showLocation = async (position) => {
  //We user the NOminatim API for getting actual addres from latitude and longitude
  let response = await fetch(
    `https://nominatim.openstreetmap.org/reverse?lat=${position.coords.latitude}&lon=${position.coords.longitude}&format=json`
  );
  //store response object
  let data = await response.json();
  locationDiv.innerText = `${data.address.city}, ${data.address.country}`;
};
That’s it for this tutorial. If you have any issues while creating this project you can download the source code by clicking on the download button below.
Create A Notes App in HTML CSS & JavaScript
Also, if you have any queries, suggestions or feedback you can drop them in the comments below.
Happy Coding!


HI, it’s not data.address.city anymore, it’s data.address.town