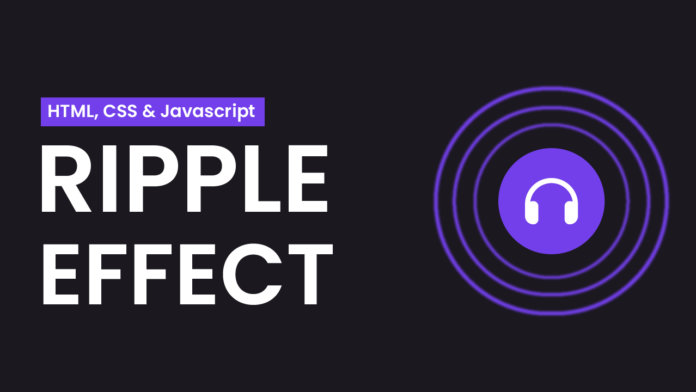
If you’ve ever clicked a button on a mobile app and seen a soft ripple radiate out — you’ve witnessed material design-inspired ripple effects in action. These micro-interactions aren’t just eye candy — they provide tactile feedback, making interfaces feel alive and responsive.
In this blog post, we’ll recreate a ripple effect button from scratch, using only HTML, CSS, and JavaScript. No libraries. No frameworks. Just pure front-end magic.
✅ What You’ll Learn
- How to create an interactive button with an icon
- How to use
@keyframesfor smooth ripple animation - How to dynamically generate and remove elements with JavaScript
- How to separate code for cleaner structure and easier maintenance
📁 Project Setup
Let’s keep things organized by splitting the code into three separate files:
/ripple-effect
├── index.html      → Markup
├── style.css       → Styling
└── script.js       → Ripple logic
🧱 Step-by-Step Code Breakdown
1️⃣ index.html — Structure
<!-- index.html -->
<!DOCTYPE html>
<html lang="en">
  <head>
    <meta charset="UTF-8" />
    <meta name="viewport" content="width=device-width, initial-scale=1.0" />
    <title>Ripple Effect</title>
    <link
      rel="stylesheet"
      href="https://cdnjs.cloudflare.com/ajax/libs/font-awesome/6.7.2/css/all.min.css"
    />
    <link rel="stylesheet" href="style.css" />
  </head>
  <body>
    <div class="ripple-wrapper">
      <i
        class="fa-solid fa-headphones ripple-btn"
        onclick="createRipple(this)"
      ></i>
    </div>

    <script src="script.js"></script>
  </body>
</html>
2️⃣ style.css — Styling & Animation
/* style.css */
body {
  font-family: sans-serif;
  background: #1b181f;
}

.ripple-wrapper {
  position: absolute;
  transform: translate(-50%, -50%);
  top: 50%;
  left: 50%;
  display: inline-block;
}

.ripple-btn {
  height: 100px;
  width: 100px;
  display: flex;
  align-items: center;
  justify-content: center;
  border: none;
  background-color: #743eec;
  color: white;
  font-size: 32px;
  cursor: pointer;
  border-radius: 50%;
  z-index: 10;
}

.ring {
  position: absolute;
  left: 50%;
  top: 50%;
  width: 40px;
  height: 40px;
  border: 2px solid #743eec;
  border-radius: 50%;
  transform: translate(-50%, -50%) scale(0);
  opacity: 0.8;
  pointer-events: none;
  animation: ripple 1s ease-out forwards;
}

.ring.delay-1 {
  animation-delay: 0.1s;
}

.ring.delay-2 {
  animation-delay: 0.2s;
}

@keyframes ripple {
  to {
    transform: translate(-50%, -50%) scale(6);
    opacity: 0;
  }
}
3️⃣ script.js — Ripple Animation Logic
// script.js
function createRipple(button) {
  const wrapper = button.parentElement;

  for (let i = 0; i < 3; i++) {
    const ring = document.createElement("span");
    ring.classList.add("ring");
    if (i === 1) ring.classList.add("delay-1");
    if (i === 2) ring.classList.add("delay-2");

    wrapper.appendChild(ring);

    setTimeout(() => {
      ring.remove();
    }, 1200);
  }
}
3️⃣ script.js — Ripple Animation Logic
🔹 Explanation:
- When the button is clicked, 3
<span>elements are created. - Each span is given the
ringclass and a delay. setTimeoutensures the ripple disappears after the animation finishes (1.2s).
💡 Final Thoughts
This ripple effect is a great example of how a few lines of HTML, CSS, and JavaScript can drastically improve user interaction. It’s responsive, easy to maintain, and satisfying to use.
By keeping the files modular (separated by concern), you also follow best coding practices, which scale well in real projects.


